Tools Required for Installation
For a seamless top box installation on your Honda Goldwing, having the right tools is crucial. This ensures not only ease but also precision and safety. Installation kits often include some essentials, but additional tools might be necessary for a comprehensive process.
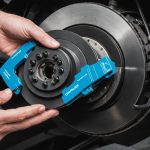
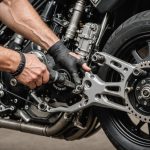
Begin with a set of basic hand tools such as screwdrivers, wrenches, and pliers. These are essential for handling various screws and bolts involved. A torque wrench is particularly important to apply the correct amount of tightening force, avoiding over-tightening or loose fittings. An Allen wrench set is typically needed for specialized fittings on certain Honda Goldwing accessories.
Also to discover : Step-by-Step Guide: Mastering Oil and Oil Filter Changes on Your Honda Fury
Additionally, safety should be a priority during installation. Protective gear like gloves and eye protection can prevent injuries when handling tools or sharp components. Having a stable workspace, such as a garage or workshop with ample lighting, facilitates precision.
Moreover, recommended accessories, such as replacement bolts or specific mounting hardware, can ease the procedure. Always verify these are the correct specifications for your model. Organising your tools for top box installation beforehand streamlines the process, reducing interruptions and potential errors.
Also read : Step-by-Step Guide to Changing the Rear Brake Pads on Your Triumph Tiger 900
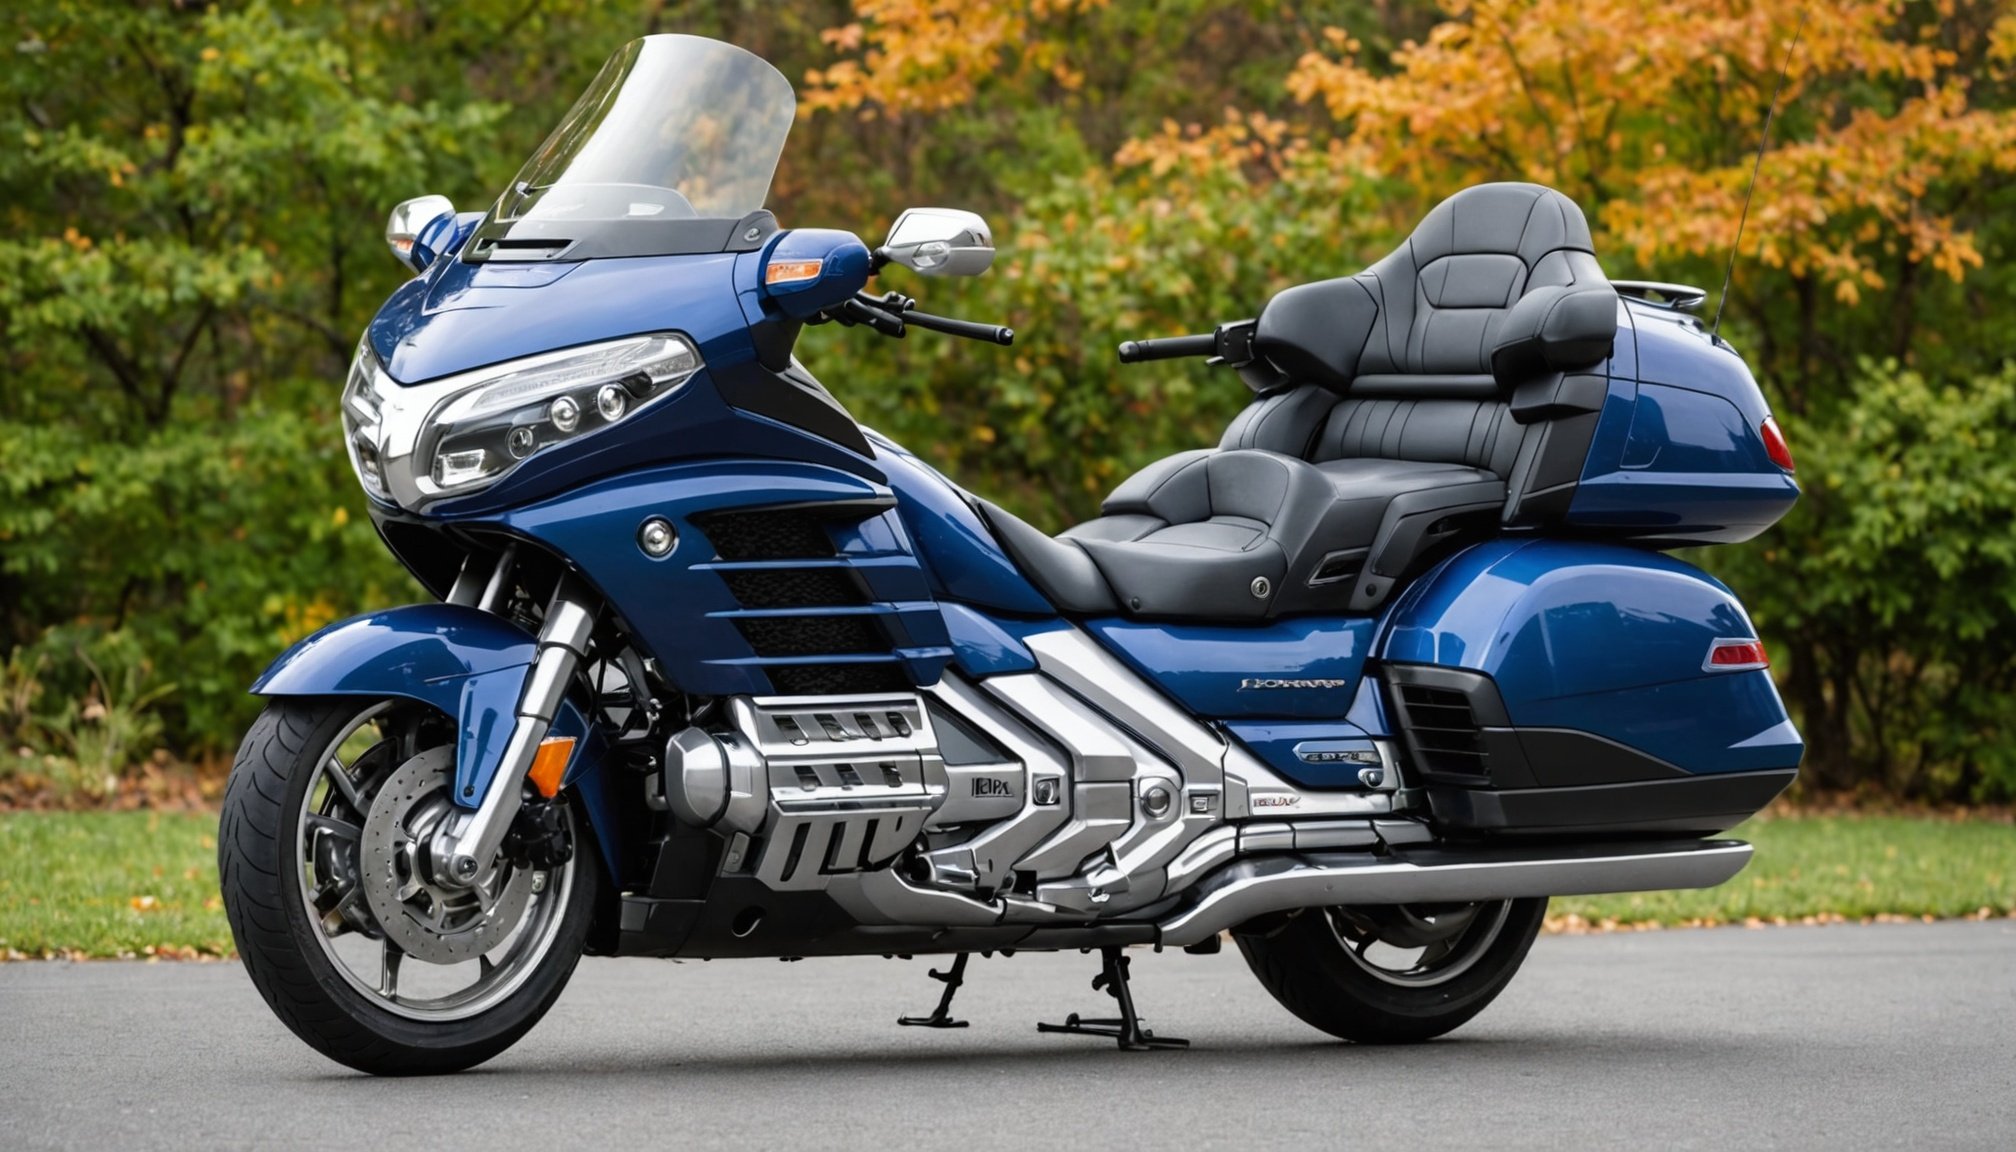
Equipped with the right tools and accessories, your Honda Goldwing will be ready for enhanced storage capacity in no time.
Preparing the Honda Goldwing
Before undertaking the installation of a top box, proper Honda Goldwing preparation is crucial. Start by cleaning the motorcycle thoroughly to ensure that no dirt or debris interferes with the installation. A clean surface allows for better adhesion and fitting of any adhesives or mounts, contributing to a durable result.
Next, inspect the motorcycle’s structure, especially the existing mounting points. These should be free of damage and able to support the additional weight of the new accessory. If any components appear worn or compromised, they should be repaired or replaced to avoid safety hazards during rides.
Creating a comprehensive installation checklist can greatly aid in a smooth installation process. This checklist might include items like verifying the alignment and spacing of mounts, ensuring all the tools for top box installation are ready, and confirming that any Honda Goldwing accessories required are on hand. By systematically working through this list, you can address potential issues before they arise.
In addition, check for any manufacturer instructions included with the installation kits. These often contain specific guidelines tailored to your model, enhancing precision and ultimately contributing to a more efficient installation. With careful preparation, your Honda Goldwing will be primed and ready for a successful upgrade.
Installation Steps
Installing a top box onto your Honda Goldwing involves careful adherence to specific top box installation steps. Begin with the mounting bracket, which serves as the foundation for secure attachment. To start, identify the appropriate Honda Goldwing mounting points. Slide the bracket into position, ensuring all holes align perfectly with the motorcycle’s structure.
Mounting Bracket Installation
Once alignment is confirmed, fasten the bracket using bolts from your installation kit. Use a torque wrench to tighten these bolts to the specified tension, ensuring stability without causing damage. If you’re uncertain, refer to the detailed guide provided within your installation kits.
Attaching the Top Box
With the bracket securely fastened, position the top box over the bracket. Carefully insert screws or latches as directed in your installation instructions. Apply uniform pressure while securing the box to maintain balance.
Securing the Installation
After attachment, inspect all connections. Ensure every screw and latch is tightly fastened to prevent loosening during rides. To enhance safety, periodically check these fittings over time, reinforcing them if necessary. Following this comprehensive Honda Goldwing mounting process ensures both safety and reliability on the road, making your journeys secure and enjoyable.
Adjustments and Final Checks
After completing the initial installation, performing top box adjustments on your Honda Goldwing is vital for optimal balance and security. Begin by ensuring that the weight distribution across the top box is even. If the weight is concentrated on one side, it could affect your motorcycle’s stability.
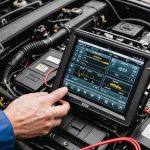
Next, perform a series of Honda Goldwing final checks. Confirm that all bolts and screws used during the top box installation steps are secure. Utilize a torque wrench to verify that each connection is tightened to the correct specifications. Inspect each Honda Goldwing mounting process point for signs of stress or improper alignment, as these can lead to complications during rides.
During the installation troubleshooting phase, be attentive to common issues such as noise or vibrations, which may indicate loose components. Address these promptly by re-tightening or realigning as necessary. For persistent problems, consult the detailed guide provided with your installation kit for professional advice tailored to your model.
Adhering to these practices guarantees the secure integration of your top box, contributing to a safer and more enjoyable riding experience.
Maintenance of the Top Box
Routine top box maintenance on your Honda Goldwing enhances both longevity and safety. Start by regularly inspecting the box for any cracks or wear, ensuring the integrity of your Honda Goldwing care routine. Examine the hinges and locks for smooth operation, applying lubricant as needed to maintain their function.
Pay attention to the internal components. Clean inside with a damp cloth, avoiding harsh chemicals that might damage surfaces. To preserve accessories upkeep, verify that any fitted extras remain securely attached.
Signs indicating maintenance or re-adjustment needs include unusual vibrations or noises when riding, which can denote looseness. The box should be stable, not jiggle, and remain securely latched during movement.
For external appearance, use a gentle cleaner and polish suitable for motorcycle parts to keep your top box looking pristine.
Implementing these top box maintenance tips ensures a reliable accessory, contributing to a safe and pleasant riding experience with your Honda Goldwing. Regular checks can preempt issues, ensuring continued Honda Goldwing care.